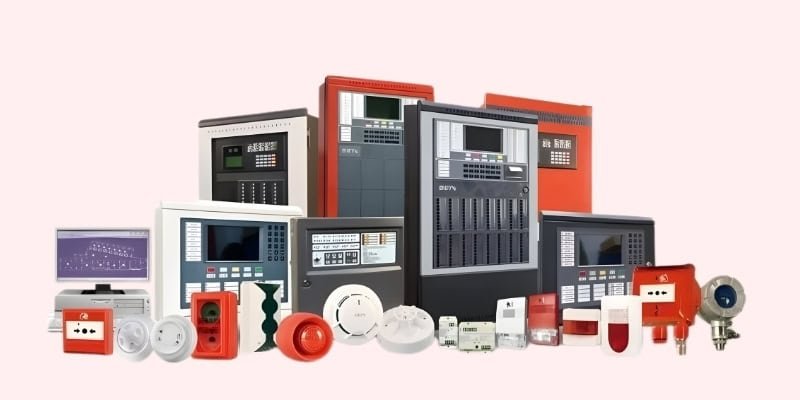
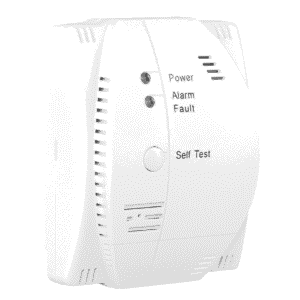
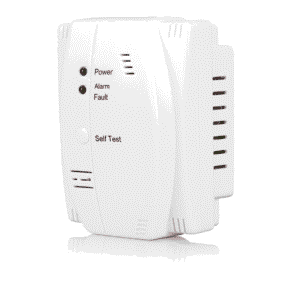
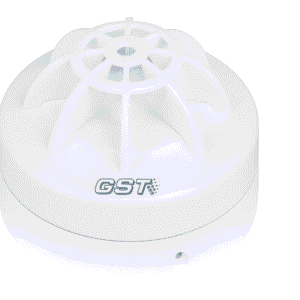
Buy GST Fire Alarm Systems at the best price with reliable, certified fire detection solutions. Explore advanced GST panels, detectors and accessories designed for commercial and industrial fire safety with trusted performance.
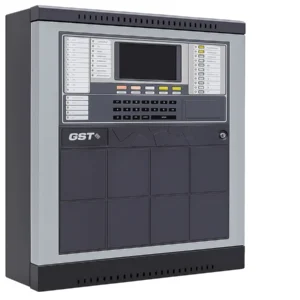
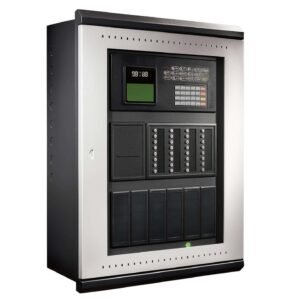
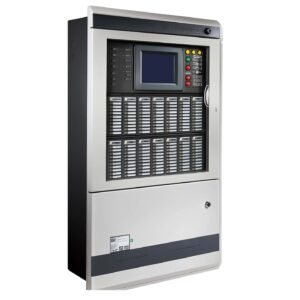
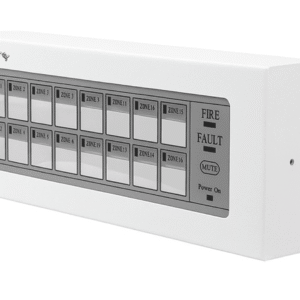
Intelligent fire alarm control panels designed for precise detection, flexible zone configuration, and scalable safety management.
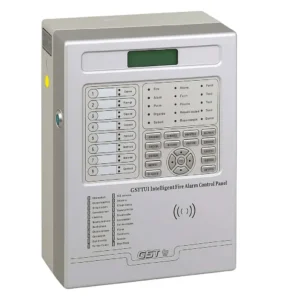
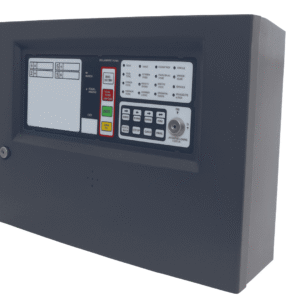
Reliable fire alarm control panels designed for small to mid-sized installations with zone-based detection and easy maintenance.
WhatsApp us