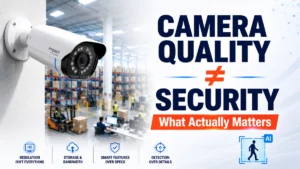
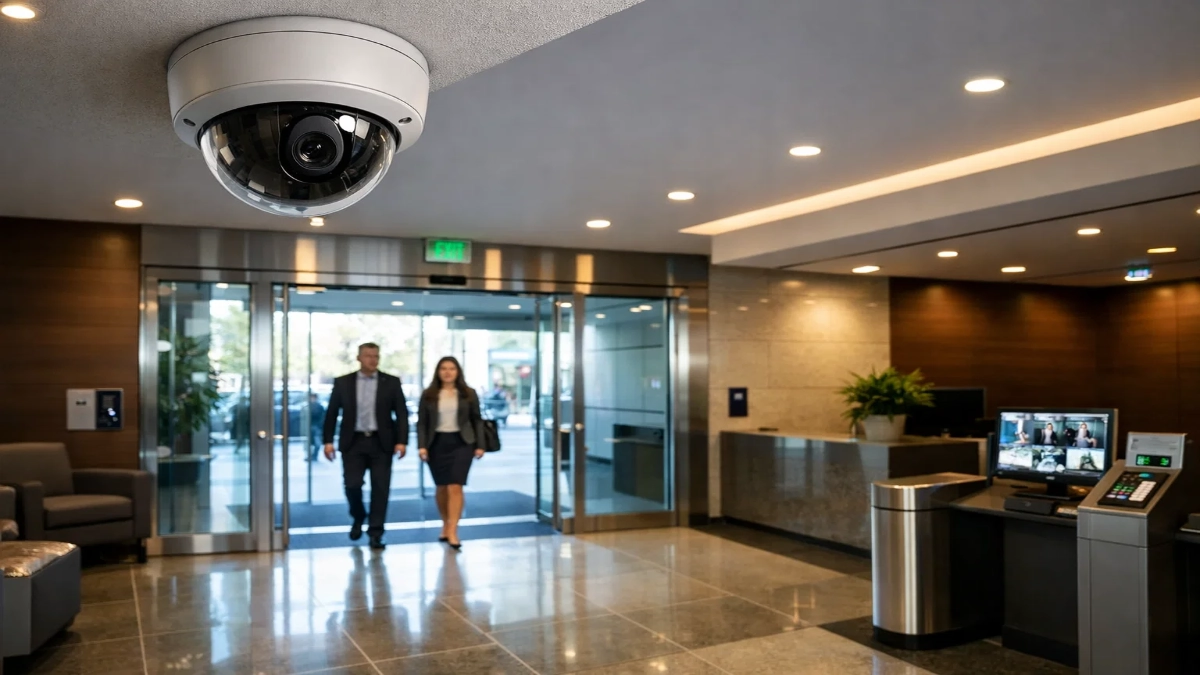
Indoor commercial surveillance is no longer just about recording incidents. Today, cameras must prevent losses, support investigations, enable analytics, improve operations and ensure compliance, all at once.
And none of that happens by accident.
It happens because of strategic camera placement.
Even the most expensive cameras fail when installed poorly. A ₹30,000 camera placed incorrectly can perform worse than a ₹5,000 unit installed at the right angle, height and field of view. Engineers who understand placement design consistently build systems that deliver clear evidence, better coverage and lower operational costs.
This guide takes a fresh approach. Instead of repeating generic tips, we’ll walk through real-world design thinking, engineering logic, spatial planning methods and scenario-based strategies that professionals can apply immediately.
Let’s dive in.
Think Like a Security Architect, Not an Installer
Before touching a ladder or drill, change your mindset.
Most projects start with:
“How many cameras do we need?”
That’s the wrong question.
Start with:
“What decisions should this camera help us make?”
Because every camera must have a purpose, not just a position.
Examples:
- Identify a person?
- Count visitors?
- Track movement?
- Monitor staff behaviour?
- Detect theft?
- Ensure safety compliance?
Each objective demands a different angle, height and lens.
When you define purpose first, placement becomes scientific instead of random.
The Four-Layer Coverage Model (Modern Design Approach)
Instead of scattering cameras across ceilings, modern surveillance uses layered visibility. Think of it like zoom levels on a map.
Layer 1 — Situational Awareness
Wide view. Shows the whole space.
Used for crowd monitoring and movement tracking.
Layer 2 — Activity Monitoring
Mid-range view. Shows actions clearly.
Used for behaviour analysis.
Layer 3 — Identification
Close and sharp. Captures faces and details.
Used for investigations.
Layer 4 — Evidence Backup
Redundant view from another angle.
Prevents blind spots or obstructions.
This layered model dramatically improves reliability while reducing the total camera count.
How to Map a Space Before Installation
Professionals never guess placements. They map.
Here’s a simple engineering workflow:
Step 1 — Get the floor plan
Mark:
- Doors
- Windows
- Pillars
- Counters
- Storage racks
- Elevators
- Lighting sources
Step 2 — Draw movement paths
Track how people naturally move.
You’ll notice:
- Choke points
- Congestion areas
- Bottlenecks
These locations are gold mines for surveillance value.
Step 3 — Mark “event zones”
Highlight where incidents are most likely:
- Cash handling
- Inventory rooms
- Server racks
- Loading bays
These zones always receive priority cameras.
This process reduces guesswork by almost 80%.
Practical Rules That Engineers Swear By
Let’s talk ground reality. These are field-tested lessons, not theory.
Rule 1: Faces beat ceilings
Top-down views look neat but hide faces.
Angle cameras slightly forward.
Rule 2: Corners are powerful
Corner mounting increases diagonal coverage and reduces blind spots.
Rule 3: Avoid “single-camera thinking”
If one camera protects a critical asset, you’re under-protected.
Rule 4: Distance reduces detail fast
Every extra meter cuts recognition accuracy. Place cameras closer than you think.
Rule 5: Light matters more than resolution
Good lighting + 2MP > poor lighting + 8MP.
Space-by-Space Placement Strategy
Different commercial environments behave differently. Let’s break them down.
Retail Floors and Showrooms
Retail environments are dynamic. Customers move unpredictably, shelves block views, and theft risks stay high.
Design focus
- Loss prevention
- POS monitoring
- Customer flow insights
Placement tactics
- Mount overview cameras at aisle intersections
- Angle cameras toward shelves (not just walkways)
- Add tight shots at the billing counters
- Cover fitting room entrances (never interiors)
- Use anti-tamper domes
Pro tip
Add one camera aimed at the cash drawer itself. Most fraud happens here.
Corporate Offices and Commercial Buildings
Offices balance security with privacy. Over-surveillance creates discomfort and legal issues.
Design focus
- Access control
- Asset protection
- Incident review
- Employee safety
Placement tactics
- Cameras at entry gates and reception
- Both ends of long corridors
- Inside server or IT rooms
- Parking and elevator lobbies
- Avoid desk-level monitoring
Pro tip
Integrate cameras with access control logs to speed incident investigation.
Warehouses and Logistics Facilities
Warehouses require different thinking. Distances are longer, and incidents involve vehicles.
Design focus
- Inventory control
- Worker safety
- Loading operations
- Accident investigation
Placement tactics
- Mount cameras 15–25 ft high with wide lenses
- Install PTZ cameras for dynamic zoom
- Cover forklift paths
- Monitor dispatch desks
- Add rugged housings
Pro tip
Use fewer high-quality cameras instead of many cheap ones. Dust and vibration quickly destroy weak units.
Camera Angles That Work (and Ones That Don’t)
Best angles
- 15–30° downward tilt
- Corner diagonals
- Eye-level for identification
Poor angles
- Straight down
- Direct into light
- Too far from the subject
- Behind obstacles
Small angle changes often improve clarity more than upgrading hardware.
Preparing for AI and Smart Analytics
Modern indoor systems increasingly use:
- People counting
- Queue monitoring
- Heat maps
- Intrusion alerts
- Behavior analytics
These features only work with proper placement.
For analytics:
- Keep cameras stable
- Maintain consistent lighting
- Avoid shadows
- Use a top-down view for counting
- Avoid occlusion
Bad placement = bad AI accuracy.
Technical Considerations Engineers Often Ignore
These details separate average designs from professional ones:
Cable routes
Plan shorter runs for better signal quality.
Maintenance access
Don’t mount where ladders can’t reach.
Network load
Too many high-resolution streams overload switches.
Storage sizing
Closer placement allows lower resolution → smaller storage needs.
Redundancy
Critical zones should have at least two views.
Legal and Ethical Placement
Surveillance must protect people, not invade privacy.
Always:
- Install clear signage
- Avoid restrooms or private areas
- Protect recorded data
- Restrict access rights
- Follow workplace laws
Good design builds trust.
Typical Mistakes That Waste Budget
Here’s what to avoid:
- Installing cameras before planning
- Overlapping excessively
- Using identical lenses everywhere
- Ignoring lighting conditions
- Mounting too high
- No testing before finalising
- Treating every room the same
Every space behaves differently. Customise accordingly.
A Simple Formula for Better Placement
Use this whenever you feel unsure:
Visibility + Angle + Distance + Lighting = Image Quality
If any one factor is weak, results suffer.
Fix placement first before buying better cameras.
The Future of Indoor Camera Design
Camera placement is evolving fast.
Expect:
- Multi-sensor panoramic cameras
- Smart edge processing
- AI-based auto-positioning
- Cloud-managed systems
- Fewer but smarter devices
Engineers who understand placement logic will adapt quickly to these technologies.
Final Takeaway
Smart surveillance isn’t about filling ceilings with cameras.
It’s about:
- Understanding risks
- Mapping movement
- Layering coverage
- Choosing smart angles
- Planning for analytics
- Respecting privacy
When placement is right, everything else becomes easier:
- Faster investigations
- Clearer footage
- Lower costs
- Fewer cameras
- Happier clients
Remember this one line:
A well-placed camera is worth five poorly placed ones.
Design thoughtfully, and your system will always outperform expectations.
Read Also: AI Video Analytics in Indoor Commercial Environments
Read Also: Edge AI vs Centralized Analytics in Enterprise CCTV