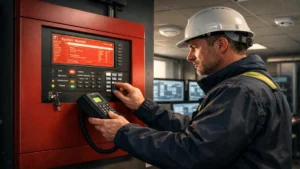
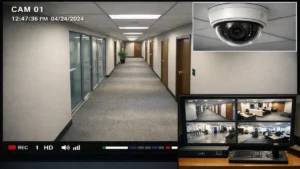
Imagine this: it’s a regular workday in a busy office building. Suddenly, smoke begins to rise in the server room. Within seconds, the fire alarm control panel (FACP) detects the incident and alerts everyone to evacuate safely.
Firefighters get the signal and respond before the fire spreads.
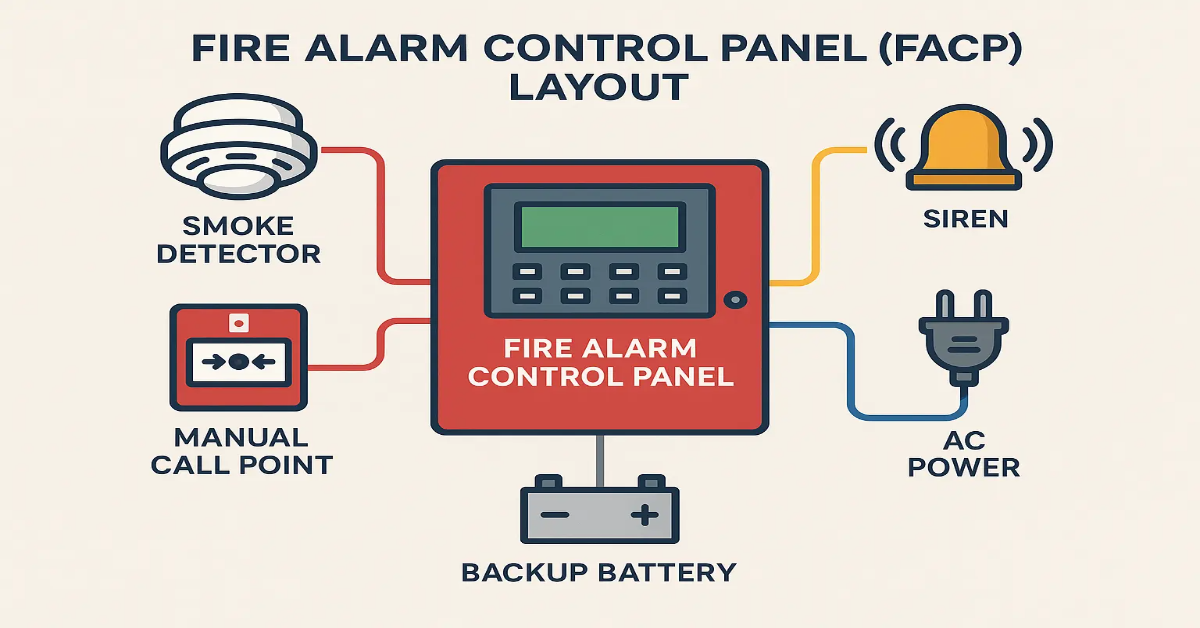
This example shows why fire alarm control panels are not optional. They are the brains of a fire protection system. They detect threats and activate alarms. Not only this, it also coordinate emergency responses.
Whether, you are a system integrator, consultant or a safety engineer. It is very important to understand the importance of fire alarm control panel.
Not only this, you should also have a good knowledge of how to install and maintain an FACP in your building.
In this guide, you will learn how to install a fire alarm control panel step by step.
Also, We’ll cover everything from pre-installation checks to final commissioning. This guide will also be highlighting common mistakes to avoid, and share professional tips for smooth, compliant installations.
Whether you are an experienced system integrator or a facility manager overseeing a project, this article will help you understand the process clearly.
Step by Step Guide: How to Install Fire Alarm Control Panel (FACP)
Step 1: Pre-Installation Checks
Before touching a single cable or drilling a hole, you must prepare the groundwork. Proper planning prevents costly mistakes and ensures compliance with fire safety regulations.
Conduct a Site Survey
- Walk through the building and identify fire-prone areas such as kitchens, server rooms, electrical panels, and storage areas.
- Study the building layout, including escape routes, staircases, and exit doors.
- Mark possible locations for detectors, manual call points, and sirens.
A well-done survey helps avoid gaps in coverage. It also prevents unnecessary rework later.
Check Compliance with Standards
Fire alarm systems must follow safety standards and codes. Depending on your location, you may need to comply with:
- NFPA 72 (National Fire Alarm and Signaling Code – widely used globally)
- IS 2189 (Indian Standard for fire detection and alarm systems)
- Local building codes and authority guidelines
Compliance is not just a legal requirement. It ensures your system is effective and reliable in real emergencies.
Select the Right Fire Alarm Control Panel
Not all panels are the same. Choosing the right one is critical:
- Conventional Panels: Best for small buildings. Devices are grouped by zones, making them cost-effective but less precise.
- Addressable Panels: Ideal for medium to large facilities. Each device has an address, allowing exact location identification.
- Hybrid Panels: Combine features of both conventional and addressable systems.
Pro Tip: Always consider scalability. A system that works today should also support future expansion.
Step 2: Gather Tools and Materials
Once you’ve finalized the design, collect the tools and materials you need. Having everything ready saves time and keeps the installation smooth.
Essential Tools
- Drill machine with bits for wall mounting
- Screwdrivers (flathead and Phillips)
- Pliers and side cutters
- Wire strippers and crimping tools
- Multimeter for testing continuity and voltage
- Insulation tape and cable ties
Materials and Accessories
- Fire-rated cables (as per IS/UL standards)
- Conduits, trunking, and cable trays
- Cable markers, ferrules, and labels
- Manual call points, detectors, and sirens
- Backup batteries (sealed lead-acid or lithium-ion)
- The FACP unit itself
Pro Tip: Always use fire-rated cables. Regular electrical cables cannot withstand high heat and may fail during a fire.
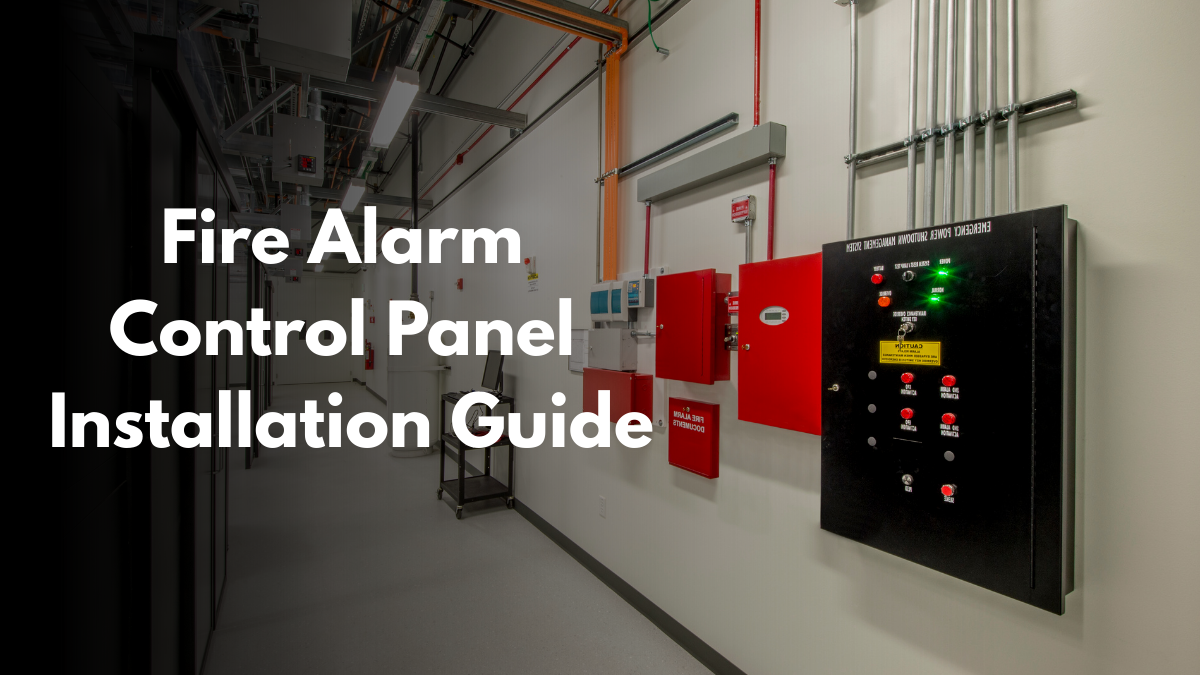
Step 3: Mount the Fire Alarm Control Panel
The FACP should be easily accessible but also secure. Here’s how to mount it correctly:
- Choose the right location: Select a central point, such as near the building entrance or in a control/security room.
- Check environmental conditions: Avoid areas with excessive dust, moisture, or heat. These factors can damage sensitive electronics.
- Mark and drill holes: Use the panel’s mounting template. Ensure it’s mounted at eye level, around 1.5 meters from the floor.
- Fix the panel firmly: Use appropriate screws and anchors to secure the unit on the wall.
Common Mistake: Mounting the panel in hidden or locked areas without authorized access. During emergencies, this delays response.
Step 4: Wire the Devices to the Panel
Wiring is the most critical step. It connects every device to the brain of the system.
Connecting Detectors
- Smoke detectors and heat detectors are connected to input circuits.
- Follow polarity carefully. Incorrect connections may cause faults.
- Space detectors as per standards (e.g., smoke detectors every 9 meters in large rooms).
Installing Manual Call Points (MCPs)
- Place MCPs near exits, staircases, and corridors.
- Mount them at about 1.4 meters above the floor so they are accessible.
- Wire MCPs in series to ensure continuity.
Wiring Sirens and Sounders
- Connect them to the Notification Appliance Circuit (NAC).
- Check audibility, alarms should be clearly heard in every part of the building.
- Install strobes in noisy or visually impaired areas for extra safety.
Pro Tip: Use different colored cables for detectors, MCPs, and NACs. This simplifies troubleshooting later.
Step 5: Connect Power Supply and Backup Batteries
The FACP requires a reliable power source to stay active 24/7.
- Connect to the main power supply: Use a dedicated 230V AC (or as per local code) connection.
- Install a separate MCB: This prevents accidental shutdown when other circuits are turned off.
- Add backup batteries: Insert batteries inside the panel to keep the system running during power failures.
- Test the charging system: Ensure the batteries recharge properly when mains power is restored.
Common Mistake: Using undersized batteries. Always match the backup capacity to the system load to ensure compliance with required standby time.
Step 6: Program the System and Configure Zones
Once wiring and power connections are complete, configure the system.
Define Zones
- Divide the building into logical zones (Ground Floor, Parking Area, Server Room, etc.).
- Assign devices to zones for easier identification during alarms.
Program Devices
- For addressable panels, assign unique addresses to each detector, MCP, and siren.
- Test communication between the panel and devices.
Configure Features
- Set alarm delays if required (useful in sensitive areas where false alarms may occur).
- Program phased evacuation sequences for large buildings.
Pro Tip: Label each zone clearly on the panel. This avoids confusion during emergencies.
Step 7: Test, Commission, and Document
Your system is not complete until it is tested and approved.
Device Testing
- Trigger each detector manually (using test smoke or heat).
- Activate MCPs and check panel response.
- Test sirens and strobes for audibility and visibility.
Power Testing
- Disconnect mains power to ensure batteries take over.
- Check automatic switchover functions.
Documentation
- Prepare “as-built” drawings showing cable routes and device locations.
- Submit test reports and compliance certificates to the client or authority.
- Train facility staff on panel operation.
Pro Tip: Always involve local fire authorities in the commissioning stage. This ensures legal compliance and builds trust.
Pro Tips for a Smooth Installation of Fire Alarm Control Panel Installation
- Label everything: From cables to zones, proper labeling reduces troubleshooting time.
- Maintain clean cable routes: Use conduits and trays to avoid tangled wires.
- Separate fire cables from electrical cables: This prevents interference.
- Keep spare capacity: Leave room for adding future devices.
- Clean detectors after installation: Dust can trigger false alarms.
Common Mistakes to Avoid
- Skipping compliance checks. Non-certified systems may be rejected by authorities.
- Using low-quality cables that fail during fire conditions.
- Ignoring backup battery testing.
- Failing to update documentation after changes.
- Poor coordination with other contractors, leading to cable damage.
Why Professional Support Matters
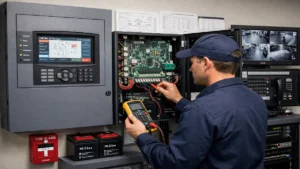
Installing an FACP might look straightforward, but it requires expertise. A small mistake in wiring or programming can cause system failure during emergencies. That’s why professional support matters.
Working with trusted distribution partners ensures you get:
- Certified, high-quality products.
- Reliable supply chains with no delays.
- Expert technical support during installation.
- Assistance with compliance and approvals.
Conclusion: Protect Lives with Proper Fire Alarm Control Panel Installation
A fire alarm control panel is more than a piece of equipment. It is a lifeline during emergencies. Installing it correctly ensures lives, assets, and businesses are protected.
To recap, successful installation requires:
- A thorough site survey and compliance check.
- Gathering the right tools and materials.
- Proper mounting of the panel.
- Correct wiring of detectors, MCPs, and sirens.
- Reliable power supply and backup batteries.
- Accurate programming and zone configuration.
- Comprehensive testing, commissioning, and documentation.
By following these steps, avoiding common mistakes, and working with expert partners, you can build a system that is both compliant and dependable.